How to Make Your Own Suspension Trainer
(Note: Updates to the construction process can be found on the second half of this post.) Suspension trainers are a fantastic tool to add to your quiver of training options, especially during travel. They'll never replace the barbell for quality strength training, but they can certainly supplement your routine quite well by providing a myriad options for assistance work.
I've mentioned before how I love to pack a set in my bag, be it for travel or for outdoor workouts, as they take up roughly the same amount of luggage space as a pair of socks, and open up a number of exercise possibilities. However, the primary issue that most people have with them is they cost an outrageous amount of money to purchase from the commercial suppliers.
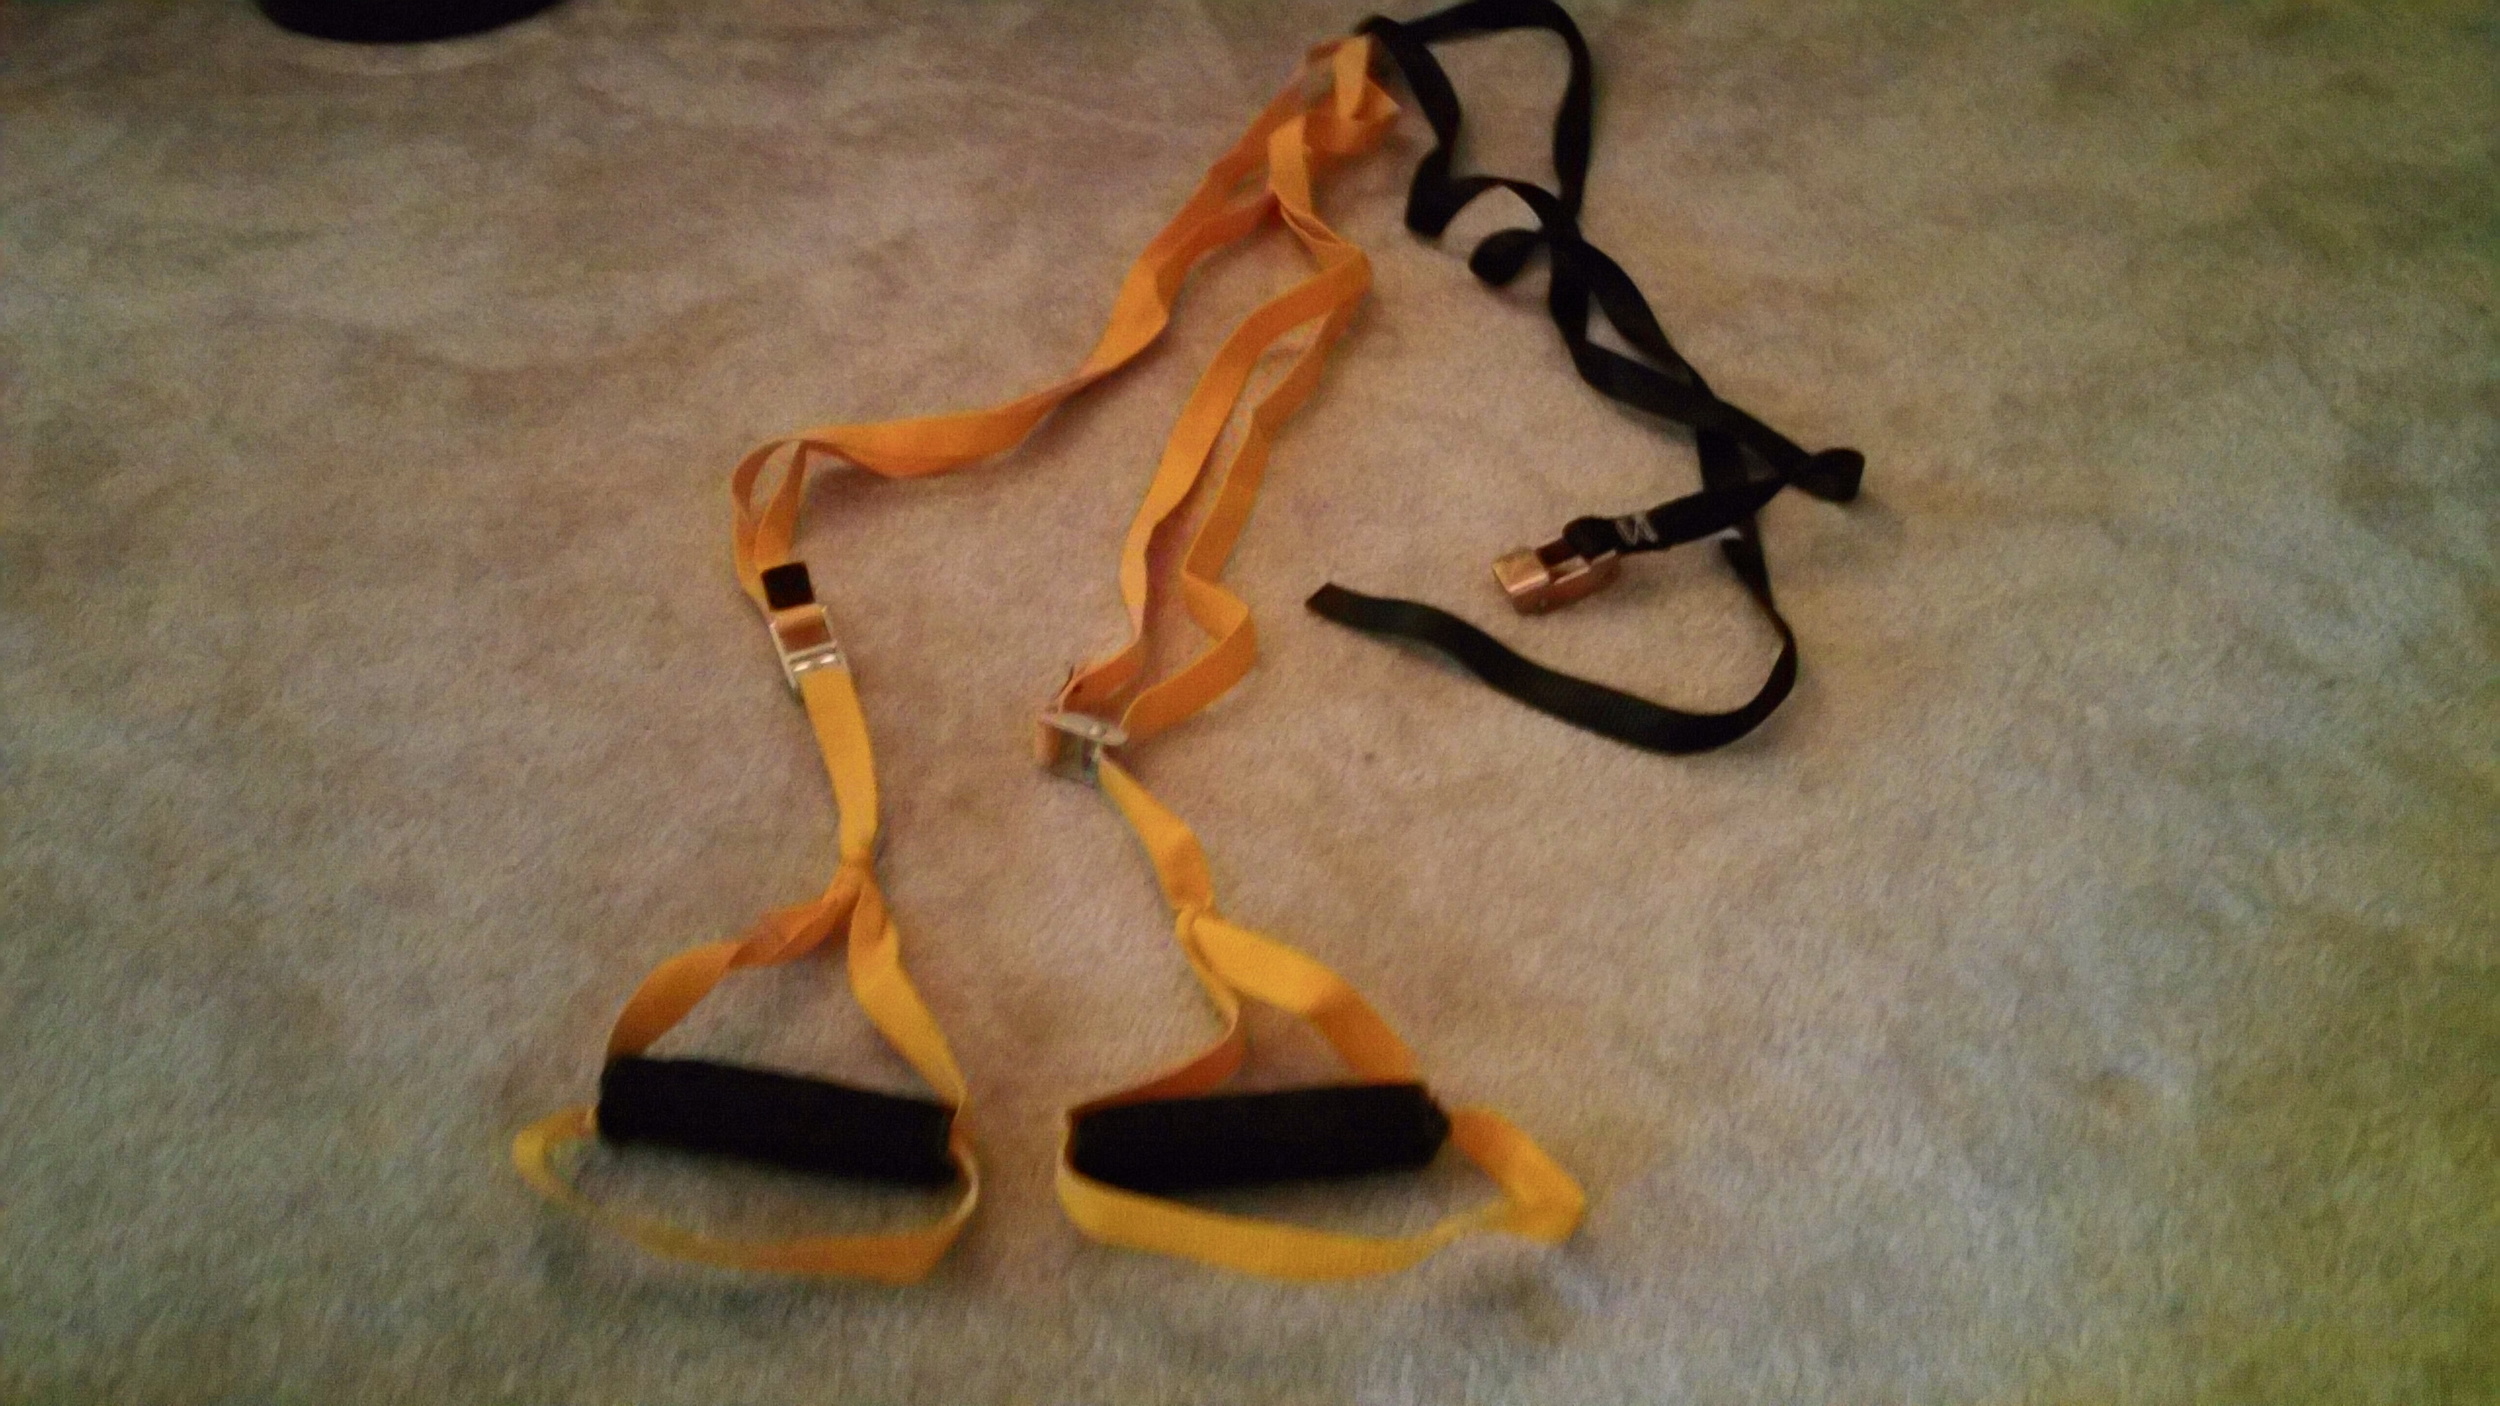
An easy option here is to simply make your own for a fraction of the cost and have it be just as effective. You can see my homemade model below:
 Back in 2009, I filmed a quick video on how to make a great suspension trainer in a matter of minutes, and it didn't take long for it to become extremely popular.
It's actually kind of funny, as I had my sister film the video in my parents' backyard during Thanksgiving. My at-the-time girlfriend (now wife), Kelsey, was GA for a weight training course out in California; she was enrolled in a post-graduate Kinesiology program at the time, and a few of the kids in her weight lifting class wanted to know how I made my own set of suspension straps, as I had got together with a couple friends earlier that Fall to figure out how to build our own. So, I haphazardly threw together a video tutorial on how to make one for her students to watch.
With large thanks to Ross Enamait (of RossTraining.com), the video quickly went viral as he found my video and posted it on his website. You can see his post HERE, where he discusses his experience using my video to make his own, and some of the tweaks he has personally made to make it even more excellent.
If I knew how often it would be looked at (currently it has over 247,000 views), I probably would have spiced up the video a bit, maybe by wearing a Speedo or something. Who knows. Either way, I'm really glad so many people have been aided by it.
Anyway, I realized I've never shared it here on SAPTstrength, so I thought it may be handy for some of you reading that want one in your equipment stash but don't want to spend the money buying it from a commercial supplier.
Here it is, in all of it's low-quality and wildlife-sounds-in-the-background glory:
A Few (Updated) Notes on Equipment and the Construction Process:
1) I now use straps with metal buckles, as they provide a much greater break strength. I personally purchased mine at REI, but Ross gave the great option of purchasing them over at Strapworks.com as they deliver them to many parts of the world and you can easily adjust the length of the strap you want to purchase.
2) I no longer use ropes for the footstraps, but I use part of the actual utility strap to make the footloops; Ross had detailed this idea here. These are much more comfortable than rope for the feet, and also don't untie nearly as easily.
3) The video for how to tie the bowline knot can be found here: How to tie a Bowline Knot
4) Currently, my video has 792 "Likes" versus 11 "Dislikes." Evidently, eleven people in the world are incompetent when it comes to tying knots.
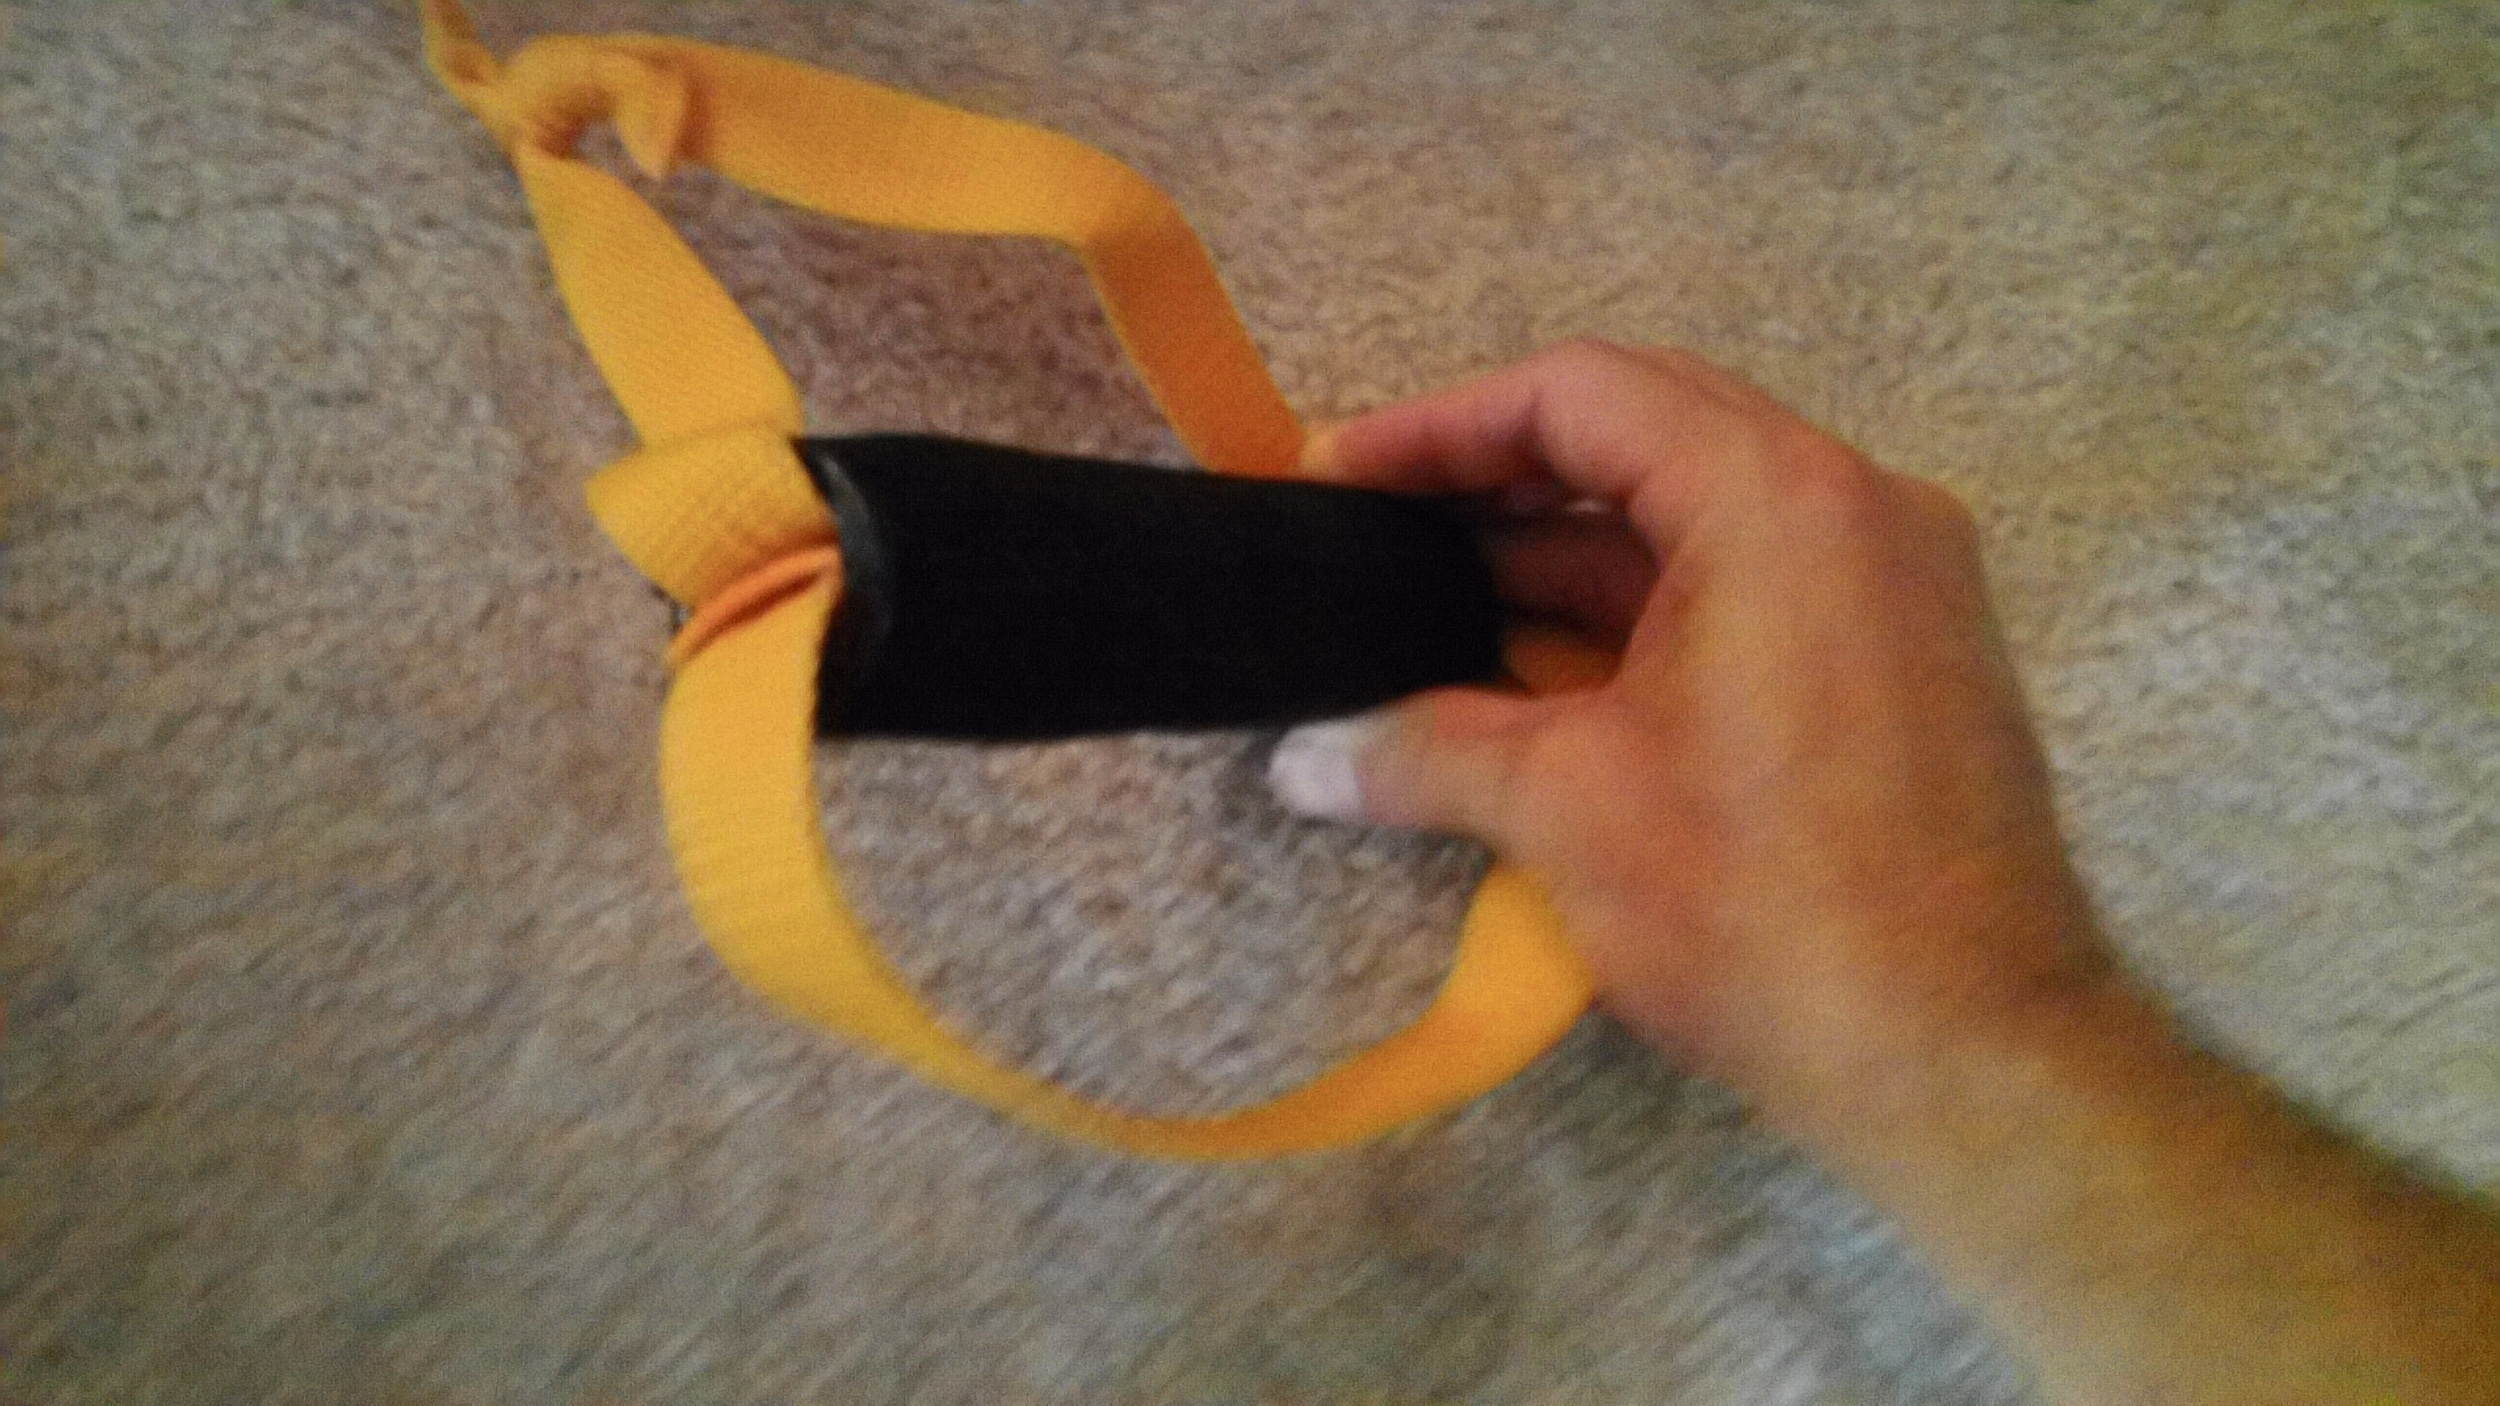
5) Be sure you sand down the edges of the PVC pipe, and/or place duct tape (or some sort of protective coating) over the edges as they (the PVC piping) will wear down the utility straps over time. You can kind of see how I did this in the picture below:
 6) Ross has since added a few updates and suggestions on his website, which I think are brilliant and extremely helpful, HERE. He provides some other options for easy-to-make handles, on top of showing the difference between a single vs. double attachment model.
7) In case you don't know who Ross is, shame on you. Here's a fairly recent training compilation of his:
Hope the above tutorial was helpful!


