10 Uncommon Rowing Variations that Don't Require Dumbbells or a Cable Column
It's no secret that a sound strength and conditioning regimen should be buttressed by a healthy dose of rowing. I don't care if you're training for powerlifting, athletic performance, fat loss, or for post-rehab purposes, you've got to include your rowing.
It's borderline ironic then that rowing exercises are one of the toughest to employ when either:
A) Traveling, or B) On a tight budget
The most common tools to use for rows are dumbbells and cable columns, and guess what are also extremely difficult to travel with, and cost a boatload of cash? Yep, dumbbells and cable columns.
When traveling, it's super easy to make do with the innumerable pushup variations at your disposal, or to include glute+hamstring work that can be accomplished with the simple addition of furniture sliders.
If you train in your garage, a squat rack and barbell will fit virtually all your needs for upper body pressing and for all essential lower body training. So, how do you achieve your rowing quota for the week in if all you have access to is a barbell (and is not your standard bent-over barbell row), and are divested of any remaining cash to spare?
Fortunately for you, we at SAPT are the kings and queens of training with minimal equipment. One of the first things people ask when they enter our facility for the first time is, "Where are are the dumbbells? Wait, what about your cable columns? Where are those?"
We've been using the dumbbell-less and cable-less rowing variations below for a number of years with our athletes, clients, and in our own training. While far from an all-inclusive list, I hope they can get you started in the right direction:
Dumbbell Row Substitutes: "Landmine" Rows
You can easily use a barbell to sub in for a number of common dumbbell variations. The following five exercises depict this.
1. Bent-Over Landmine Row
2. Bent-Over DEADSTOP Landmine Row
3. 3-Point Landmine Row
4. 3-Point DEADSTOP Landmine Row
5. 2-Point Landmine Row
Cable Column Substitutes: Band Rows
In a number of ways I actually like band rows better than cable rows. They add a really intense contraction at the top, right when your scapular stabilizers are working on overdrive.
6. Seated Band Row, Neutral Grip
7. Seated Band Row, Neutral Grip with Towel
Use this one if you don't have an actual V-handle, or if you just want to fry the grip for masochistic purposes.
8. Seated Band Row, Pronated Grip
We initially used a dowel rod for the handle on these, but then there lies the risk of the handle snapping on you mid set. You can use a barbell instead, which also adds a unique challenge for the shoulders.
9. 1/2 Kneeling Band Row, Neutral Grip
Other Odds and Ends
10. T-Bar Landmine Row with Towel
While not technically a dumbbell or cable substitute, here's one that combines a core stability element with heavy grip demands:
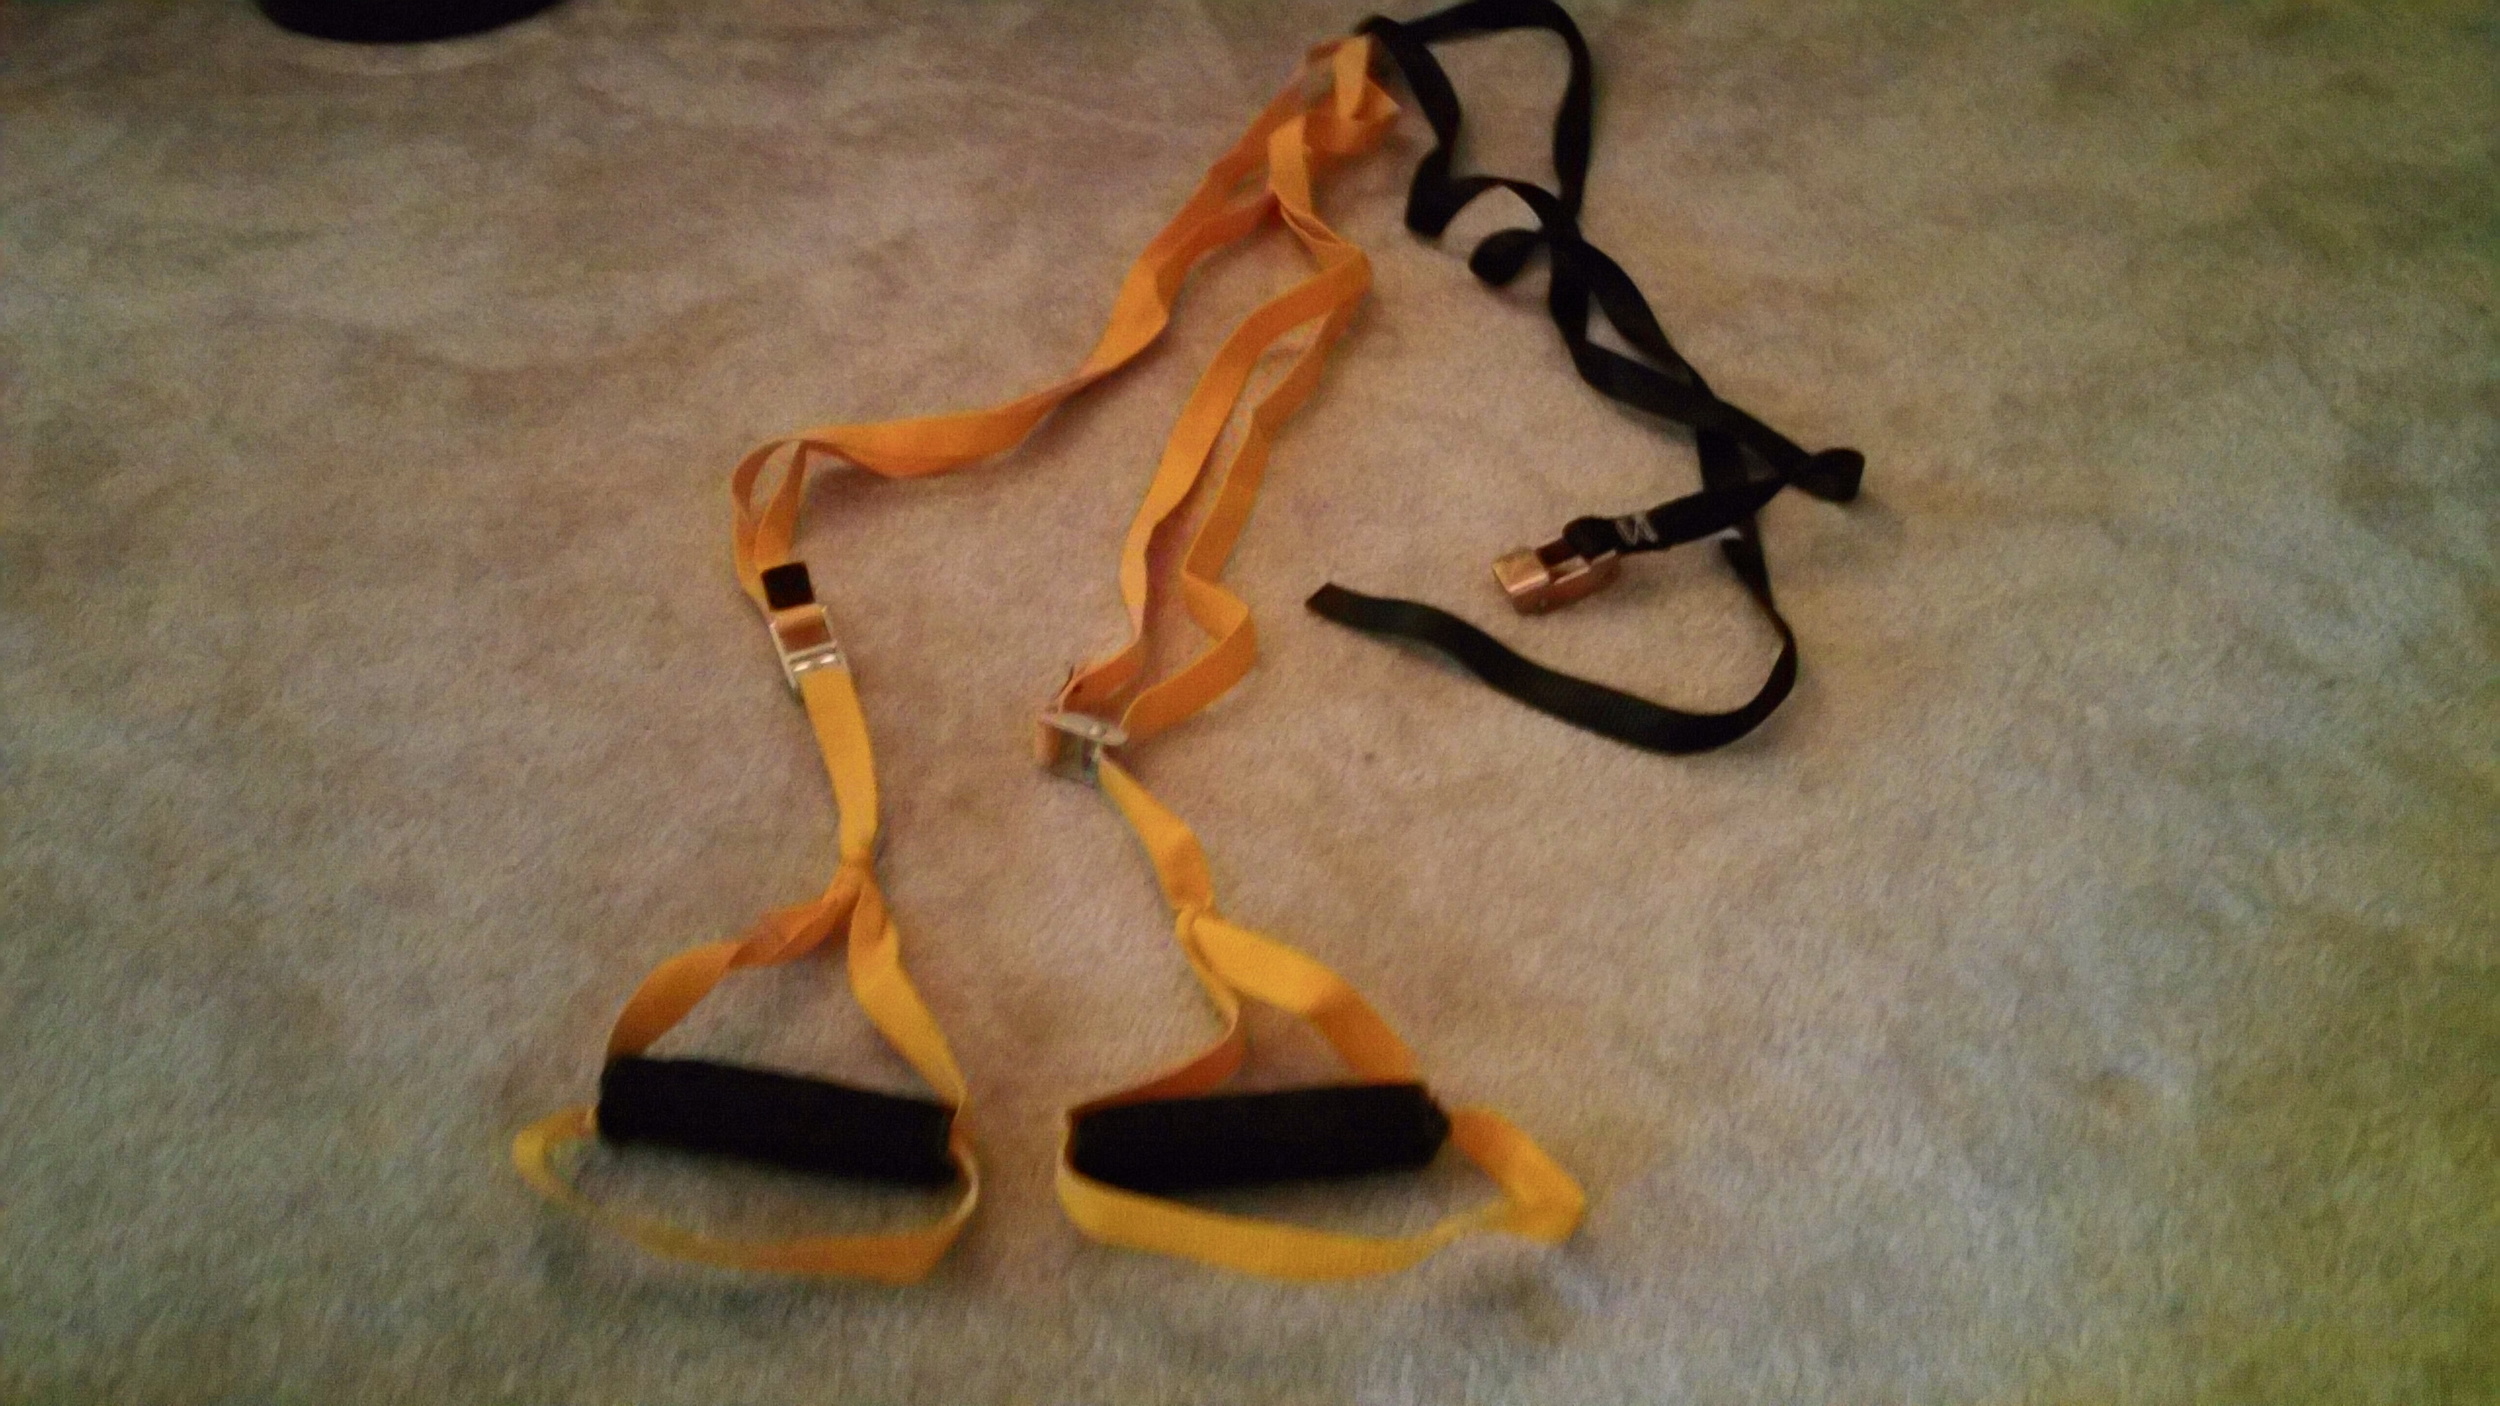
11 (Bonus): Make Your Own Suspension Trainer
Finally, you can make your own suspension trainer, which will open the door for a host of other rowing possibilities, be it for travel or for home purposes.
Heck, even if you DO have easy access to dumbbells and/or cable stacks, I recommend giving these a shot as you'll definitely notice a slightly different (and fun) training stimulus, and may decide to keep a few in your permanent rowing repertoire.
How to Get in a Good Lift on the Road
Coach Steve shares tips on how to get in a good training session while traveling.
I’ve noticed a common theme lately with people who have stepped outside the matrix and into a real training facility. It becomes harder to figure out what to do in the gym when they then have to step BACK into the matrix for a quick visit. Usually this occurs on a vacation/business trip and they have to train at an awful hotel gym or a piss-poor commercial gym for a short period of time. They are left dumbfounded as to what to do when all they find is a sea of useless machines and a bench press to squat rack ratio of 20:1. Don’t worry that’s why I’m here, to show you how you can make the best of a crappy situation. All in all it’s really not that difficult to get in a good workout at one of these places; we can take advantage of the machines, light dumbbells, and the absurd amount of benches. Below is a sample workout that I put together that someone could do when they find themselves in the predicament I just described.
A1) DB Bench Press
4x7/side
A2) Goblet Squat to Box
5x8
A3)* Lat Pulldowns
40 reps total
B1) Pushups
3xLeave 2 in the Tank
B2) 3 Point DB Row
4x10/side
B3) BSS
3x9/side
C1) Facepulls
2x20
C2) Plank
2X1 min.
*to be performed throughout entire session
There are three key factors in making this sample day a good off site workout…
A lot of volume is always fun when you are on vacation or even a business trip. Excuse my meat headedness but it’s an awesome feeling when you get done with a high volume workout and then proceed to get your George Jefferson walk going on with your shirt off at the beach. Since there probably won’t be that much weight to throw around in the weight room you’re at, take advantage, and get a high amount of volume in. You’re on vacation, have some fun and get your pump on (we all know that’s what your dying to do anyway).
Take this time to iron out the movement pattern. Moving heavy weight is the best thing in the world other than a Chipotle burrito. The only problem is as a movement becomes progressively more loaded overtime bad habits can form and technique can falter. So again take advantage of the lighter weight and higher volumes and use this as practice time; groove the pattern of the main lift (in this case a squat) so that when you come back to the real world you can get right back to throwing around weight
The third factor is keeping it simple and quick. Whether you are on vacation or a business trip it’s safe to say you don’t have a lot of time to spend in the weight room (unless your Stevo and Kelsey who choose to spend their vacations at a training facility). Don’t try and get too crazy with your workouts and spend all your time thinking about what machine will give you the greatest amount of glute med activation. Just stick with basic movements, get in and get out. This is not the time to program 20 different lifts either; again just stick to the basics.
I hope this helps everyone out who finds themselves in a similar situation. Whatever you do don’t use business or vacation as a reason not to train!
How to Make Your Own Suspension Trainer
(Note: Updates to the construction process can be found on the second half of this post.) Suspension trainers are a fantastic tool to add to your quiver of training options, especially during travel. They'll never replace the barbell for quality strength training, but they can certainly supplement your routine quite well by providing a myriad options for assistance work.
I've mentioned before how I love to pack a set in my bag, be it for travel or for outdoor workouts, as they take up roughly the same amount of luggage space as a pair of socks, and open up a number of exercise possibilities. However, the primary issue that most people have with them is they cost an outrageous amount of money to purchase from the commercial suppliers.
An easy option here is to simply make your own for a fraction of the cost and have it be just as effective. You can see my homemade model below:
 Back in 2009, I filmed a quick video on how to make a great suspension trainer in a matter of minutes, and it didn't take long for it to become extremely popular.
It's actually kind of funny, as I had my sister film the video in my parents' backyard during Thanksgiving. My at-the-time girlfriend (now wife), Kelsey, was GA for a weight training course out in California; she was enrolled in a post-graduate Kinesiology program at the time, and a few of the kids in her weight lifting class wanted to know how I made my own set of suspension straps, as I had got together with a couple friends earlier that Fall to figure out how to build our own. So, I haphazardly threw together a video tutorial on how to make one for her students to watch.
With large thanks to Ross Enamait (of RossTraining.com), the video quickly went viral as he found my video and posted it on his website. You can see his post HERE, where he discusses his experience using my video to make his own, and some of the tweaks he has personally made to make it even more excellent.
If I knew how often it would be looked at (currently it has over 247,000 views), I probably would have spiced up the video a bit, maybe by wearing a Speedo or something. Who knows. Either way, I'm really glad so many people have been aided by it.
Anyway, I realized I've never shared it here on SAPTstrength, so I thought it may be handy for some of you reading that want one in your equipment stash but don't want to spend the money buying it from a commercial supplier.
Here it is, in all of it's low-quality and wildlife-sounds-in-the-background glory:
A Few (Updated) Notes on Equipment and the Construction Process:
1) I now use straps with metal buckles, as they provide a much greater break strength. I personally purchased mine at REI, but Ross gave the great option of purchasing them over at Strapworks.com as they deliver them to many parts of the world and you can easily adjust the length of the strap you want to purchase.
2) I no longer use ropes for the footstraps, but I use part of the actual utility strap to make the footloops; Ross had detailed this idea here. These are much more comfortable than rope for the feet, and also don't untie nearly as easily.
3) The video for how to tie the bowline knot can be found here: How to tie a Bowline Knot
4) Currently, my video has 792 "Likes" versus 11 "Dislikes." Evidently, eleven people in the world are incompetent when it comes to tying knots.
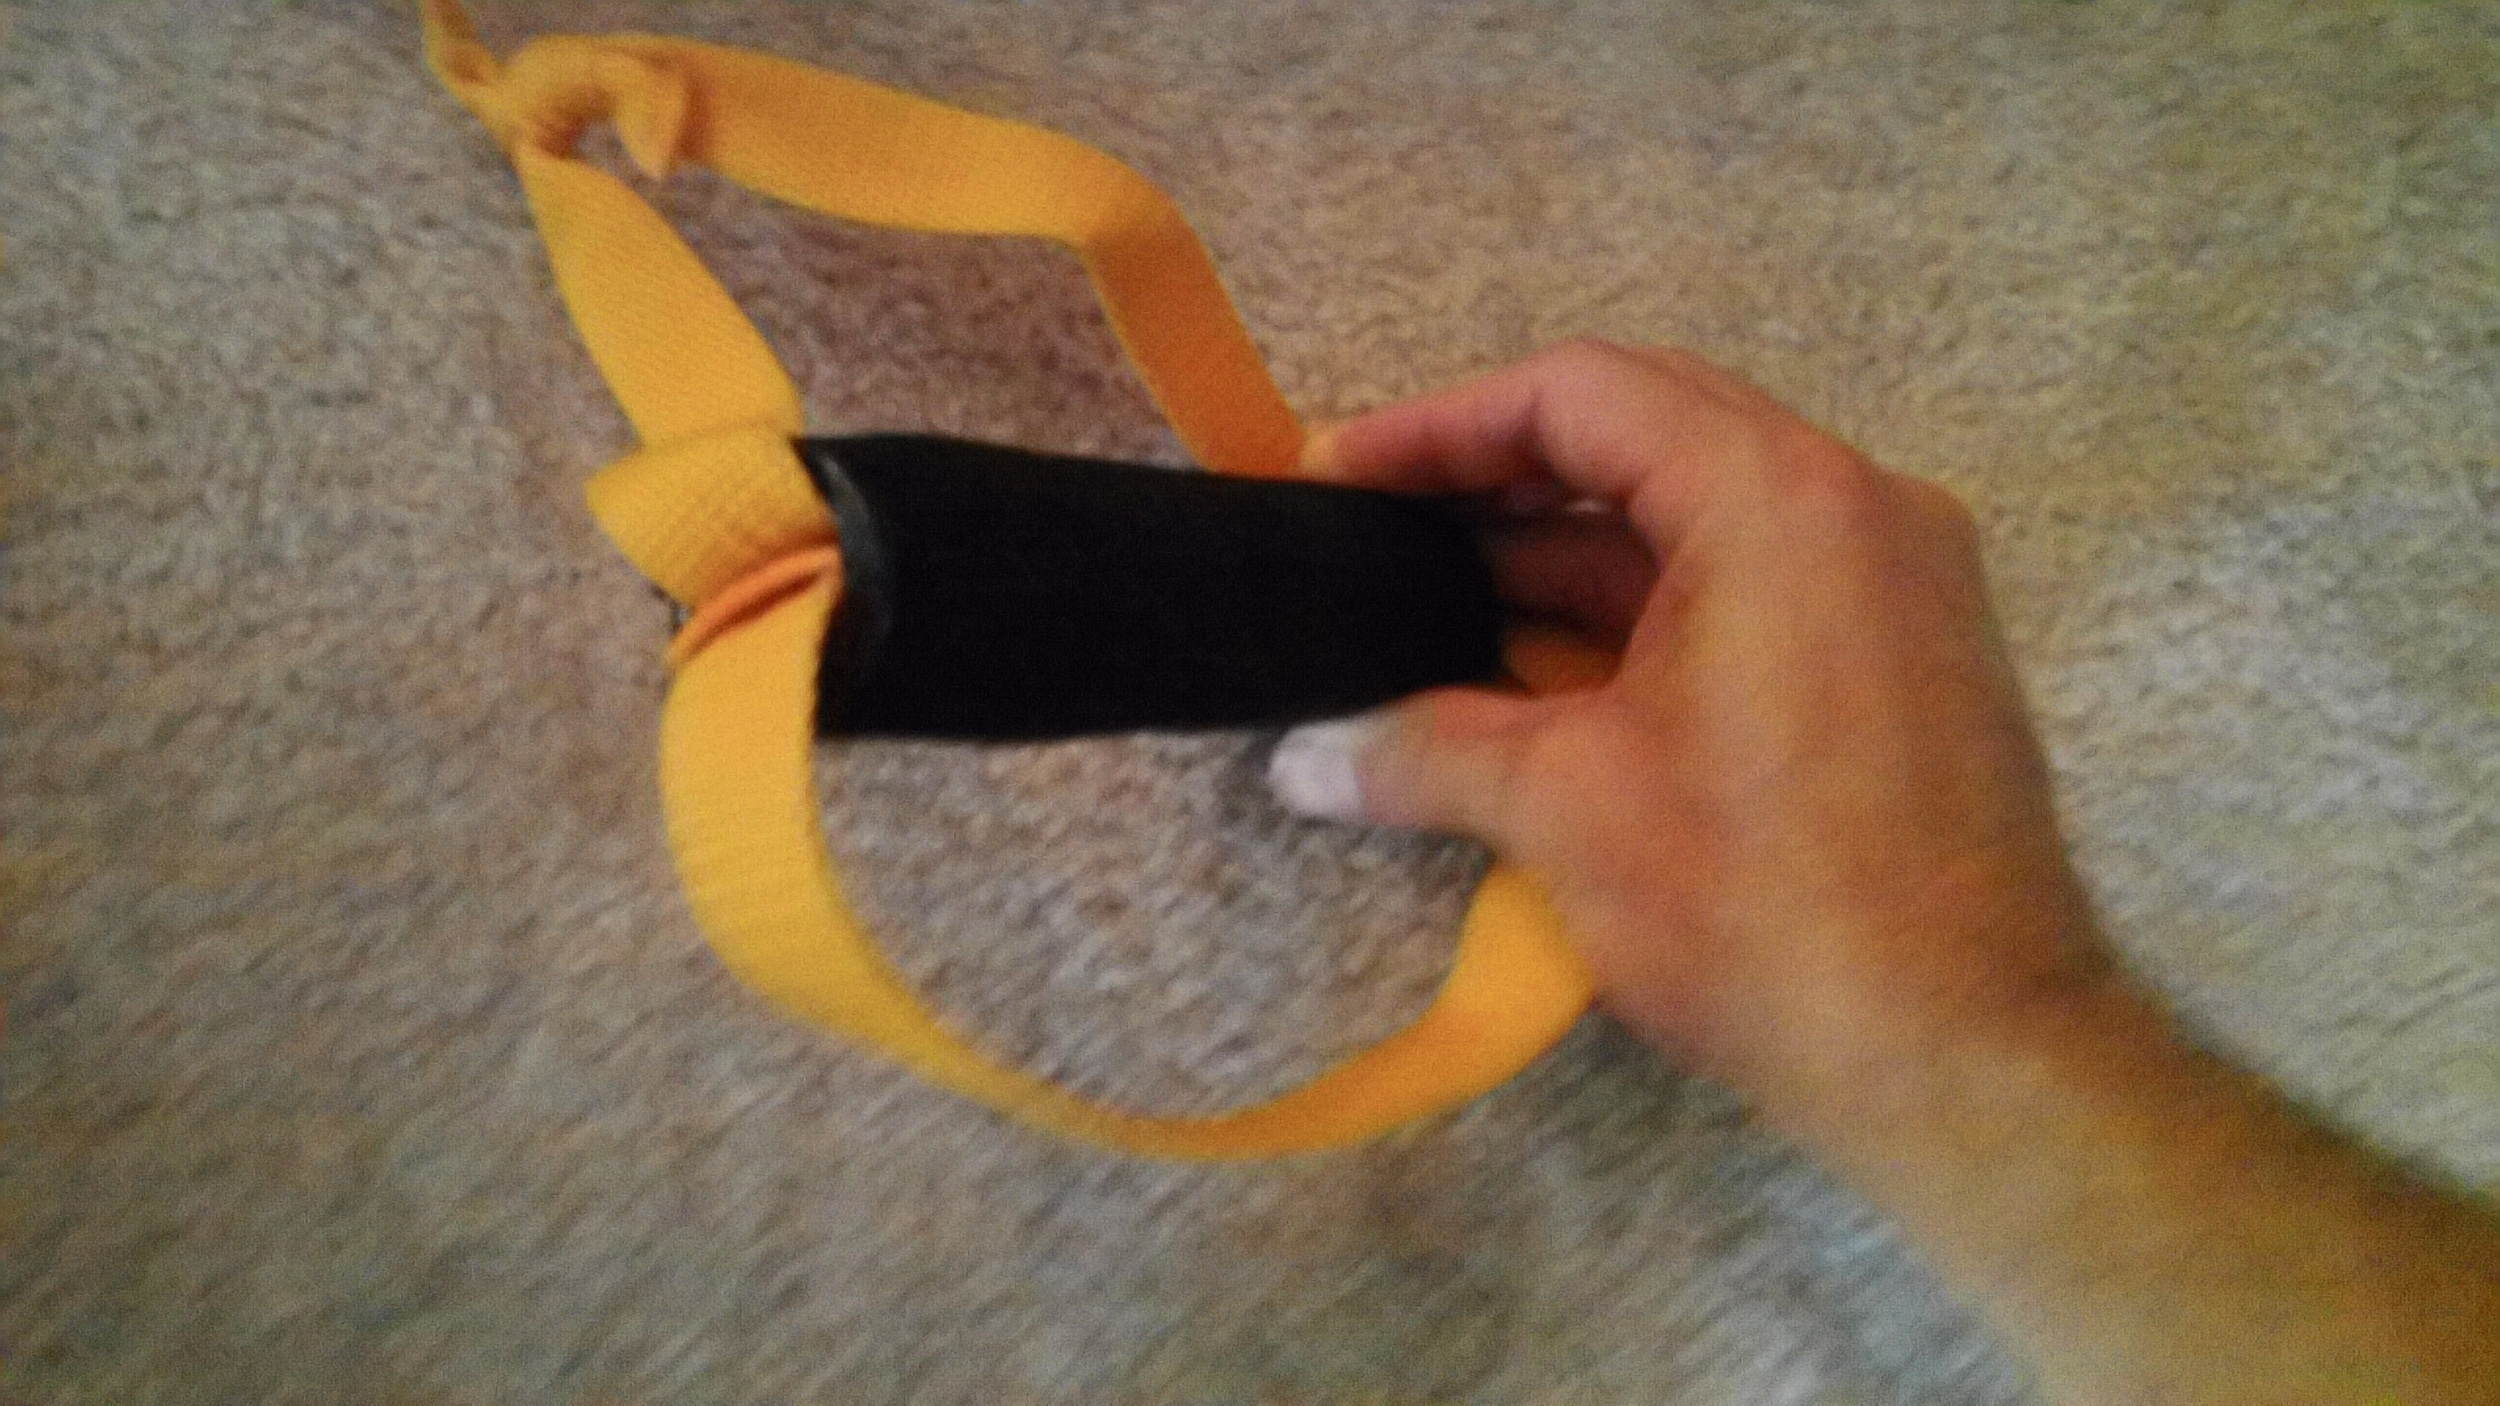
5) Be sure you sand down the edges of the PVC pipe, and/or place duct tape (or some sort of protective coating) over the edges as they (the PVC piping) will wear down the utility straps over time. You can kind of see how I did this in the picture below:
 6) Ross has since added a few updates and suggestions on his website, which I think are brilliant and extremely helpful, HERE. He provides some other options for easy-to-make handles, on top of showing the difference between a single vs. double attachment model.
7) In case you don't know who Ross is, shame on you. Here's a fairly recent training compilation of his:
Hope the above tutorial was helpful!


